1. 프로젝트 생성 전 단계에서 해야할 일
1. Google Cloud Platform에 로그인한다.
https://console.cloud.google.com/
Google Cloud Platform
하나의 계정으로 모든 Google 서비스를 Google Cloud Platform을 사용하려면 로그인하세요.
accounts.google.com
2. [프로젝트 선택]>[새 프로젝트]로 이동하여 새 프로젝트를 생성한다.

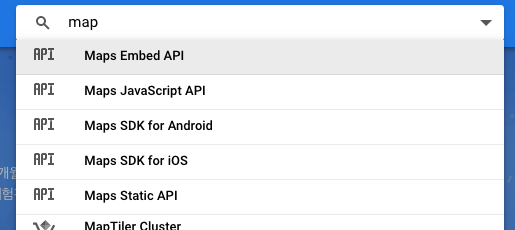
3. 상단의 검색창에 map을 검색하여 Maps SDK for iOS를 사용한다.
4. 위에서 만든 프로젝트의 Maps SDK for iOS의 사용자 인증 정보 화면에서 키를 등록한다.
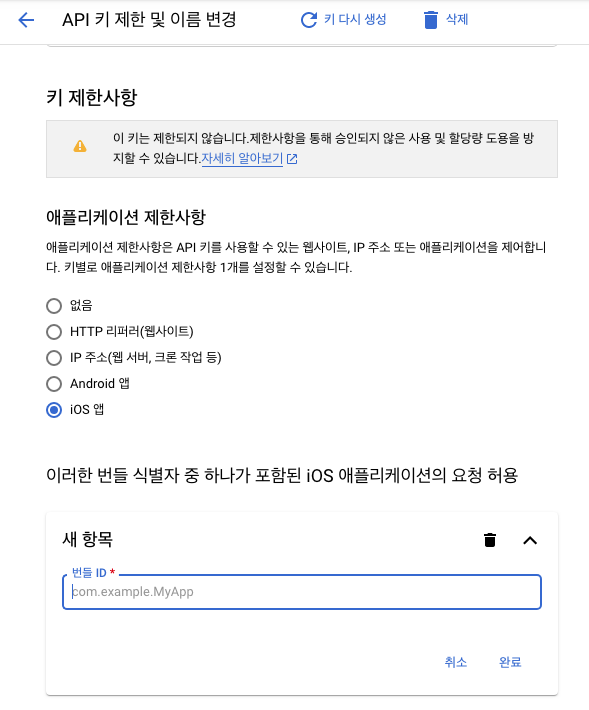
어플리케이션 제한사항은 iOS 앱으로 번들 ID는 프로젝트 생성시 필요하므로 기억해둔다.
키 생성 후 키를 복사해둔다.
2. 프로젝트 생성
1. XCode 환경에서 프로젝트를 생성한다.

두 번째에 있는 Create a new Xcode project 화면 클릭
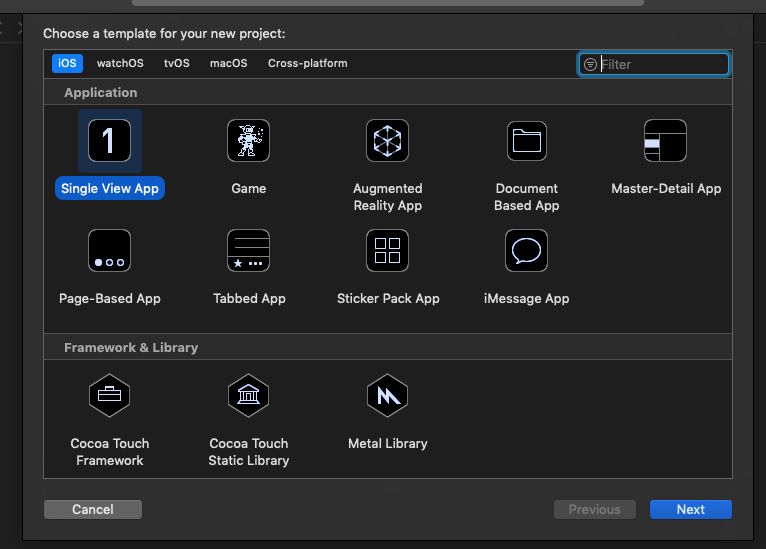
iOS>Single View App 선택 후 Next 클릭

Product Name을 설정하고 Team(아이폰에 직접 심어 볼거라면 선택 필요)과 같은 나머지 값을 적당하게 적어준다.
Organization Identifier에 1-4의 번들 아이디와 동일한 값을 적어준다.
이후 Next버튼을 눌러 프로젝트를 생성한다.
3. COCOAPOD로 SDK 설치하기
1. 터미널을 열고 다음과 같은 명령어를 입력한다. (cocoapods 설치)
sudo gem install cocoapods2. 설치가 다 되었으면 2번에서 만든 프로젝트의 경로로 들어간다.(ex. cd desktops/[프로젝트이름])
제대로 들어갔을 시 [프로젝트이름의 폴더], [프로젝트이름.xcodeproj] 파일이 있다.
3. 2번의 위치에서 다음과 같은 명령어를 입력한다. 그러면 podfile이 생성된다.
pod init4. vi 편집기를 이용해 target [프로젝트이름] do ~ end 사이에 다음과 같은 코드를 입력한다.
source 'https://github.com/CocoaPods/Specs.git'
pod 'GoogleMaps'
pod 'GooglePlaces'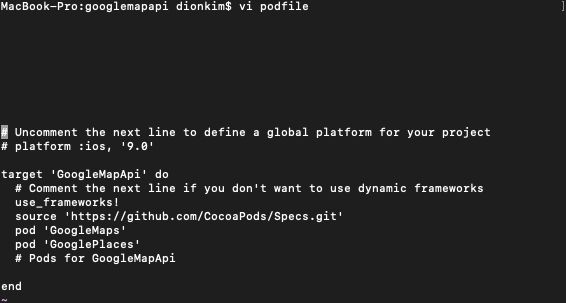
5. 다음 명령어 입력을 통해 pod 설치를 진행한다.
pod install6. 설치가 완료되면 파인더로 해당 경로를 들어가보면 [프로젝트이름.xcodeworksplace]를 포함한 다양한 폴더와 파일들을 확인할 수 있다.
7. [프로젝트이름.xcodeworksplace] 파일을 클릭하여 xcode로 실행한다.
다른 경로로 실행할 시 api사용이 불가능함(기본은 [프로젝트이름.xcodeproj]로 되어 있음)
8. AppDelegate.swift에서 다음과 같이 코드를 수정한다.
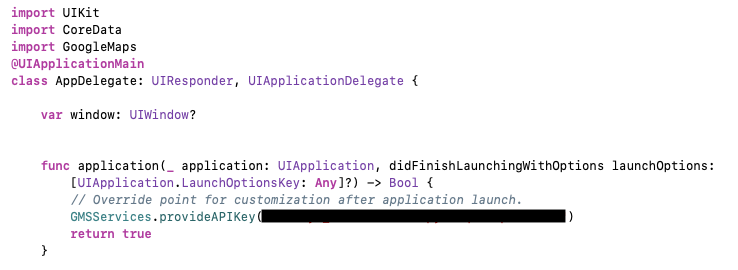
import CoreData
import GoogleMaps
...
   func application(_ application: UIApplication, didFinishLaunchingWithOptions launchOptions: [UIApplication.LaunchOptionsKey: Any]?) -> Bool {
          // Override point for customization after application launch.
          GMSServices.provideAPIKey("사용자 Key 값")
          return true
   }
...
여기서 "사용자 Key"값은 1-4에서 복사한 Key값을 붙여넣기한다.
9. Map을 띄울 Controller의 코드를 다음과 같이 수정한다.
여기서는 프로젝트 생성시 자동으로 생성되는 ViewController에 적용했다.
import UIKit
import GoogleMaps

class ViewController: UIViewController {

    // You don't need to modify the default init(nibName:bundle:) method.
    override func viewDidLoad() {
        super.viewDidLoad()
    }
    override func loadView() {
        // Create a GMSCameraPosition that tells the map to display the
        // coordinate -33.86,151.20 at zoom level 6.
        let camera = GMSCameraPosition.camera(withLatitude: -33.86, longitude: 151.20, zoom: 6.0)
        let mapView = GMSMapView.map(withFrame: CGRect.zero, camera: camera)
//        mapView.isMyLocationEnabled = true
        view = mapView

        // Creates a marker in the center of the map.
        let marker = GMSMarker()
        marker.position = CLLocationCoordinate2D(latitude: -33.86, longitude: 151.20)
        marker.title = "Sydney"
        marker.snippet = "Australia"
        marker.map = mapView
    }
10. info.plist의 Information Property List에 다음과 같은 값을 추가한다.

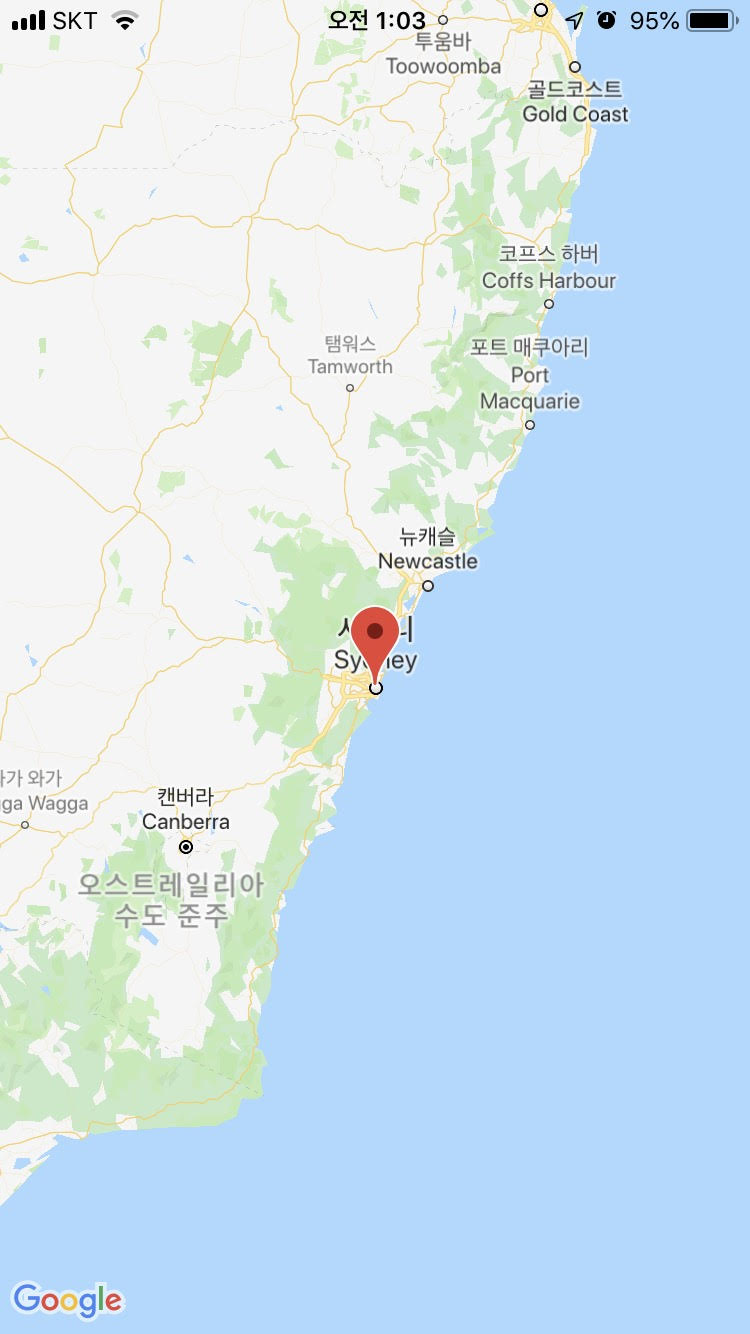
실행시키면 다음과 같이 google 지도를 불러 올 수 있다.
참고 사이트 :
https://developers.google.com/maps/documentation/ios-sdk/start
'Mobile Programming > IOS(Swift)' 카테고리의 다른 글
| [iOS]UIView Mask를 이용해 view 일부만 표시하기 (0) | 2020.05.08 |
|---|---|
| [iOS] UTF-8 -> Unicode 변환하기 (0) | 2020.04.21 |
| [iOS] App HTTP 접근 허용하기 (0) | 2020.04.02 |
| [iOS] 기본 카메라 바코드 인식 기능 사용하기 (0) | 2020.04.02 |
| [ios] 공공데이터를 이용하여 버스 어플리케이션 만들기1 - xml (0) | 2019.07.08 |


댓글